Backing up Flexipay data
First ensure that the required Flexipay payroll directory is correct and that no other users are using the same directory.
The analyst may ask you for depersonalised or non-depersonalised data depending on the issue being investigated.
Depersonalised backup
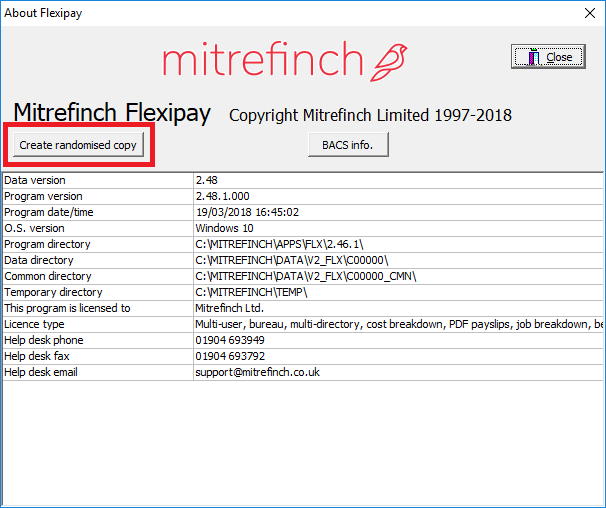
Click on the menu Help > About and then the button Create randomised copy.
You will be prompted for the data directory to be copied and can choose to exclude data from the copy.
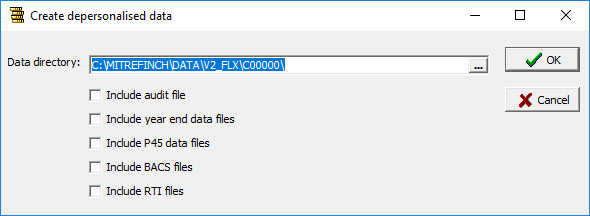
When you hit OK you will be prompted for the directory in which to save the backup (e.g. your desktop).
The following information box will then be displayed to confirm the backup has completed, Click on OK to continue.

The backup can now be found in the selected directory and will have the filename MFINFO.ZIP.
Non-depersonalised backup
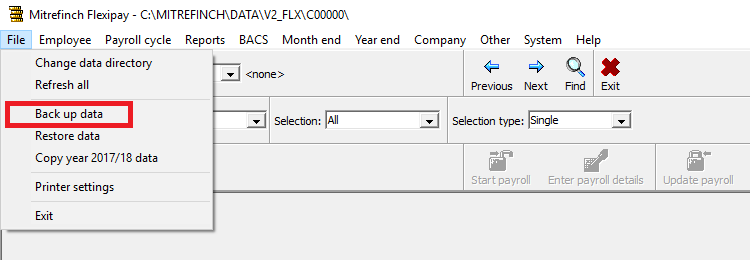
Click on the menu File > Back up data.
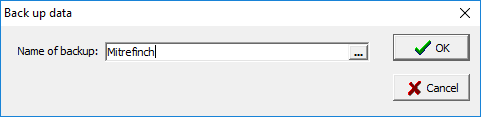
You will then be prompted to enter a name for the backup. In order to avoid any confusion with your existing backups, it is recommended that you enter a Mitrefinch related name such as ‘Mitrefinch’ then click on OK.
The following information box will then be displayed to confirm the backup has completed, Click on OK to continue.
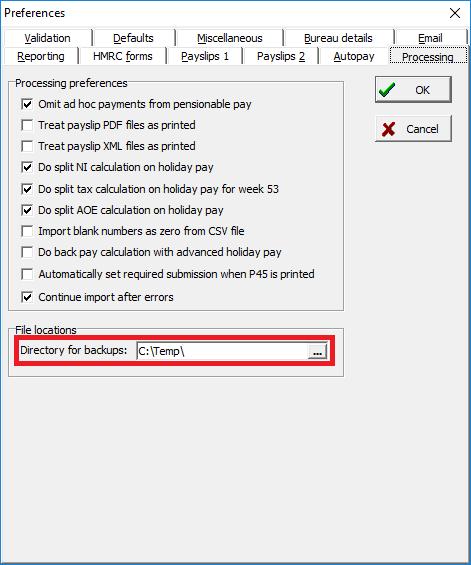
The backup file will be saved in your normal backup directory. If required, the directory for backups can be confirmed within Flexipay by clicking on the menu System > Modify miscellaneous parameters then click on the Processing tab.
Once you can locate the backup file (*.BU file), it will should be securely uploaded via our website using the provided upload instructions.